I’m back again with another foray into the world of Project Life, beautified with Nancie Rowe Janitz products. To see all her digital offerings, check out her store at JessicaSprague.com.
My goal is to show you how easy it is to use her products in your own Project Life album (whether it is 100% digital, or a hybrid mish mash of printed and digital). My Project Life is a mix of digital layouts, digital items printed out, and traditional paper supplies. My album is an excuse to get creative and experiment with new techniques. If you need a refresher on what Project Life is, please check out Becky Higgins’ site Project Life.
Here are my first and second posts to see what has been covered so far.
Last week, I showed several ways Nancie’s word art can be used. We covered turning a word into a cutting file for the Silhouette, making a digital journal card with drop shadowing to make it realistic, and stamping onto your photo.
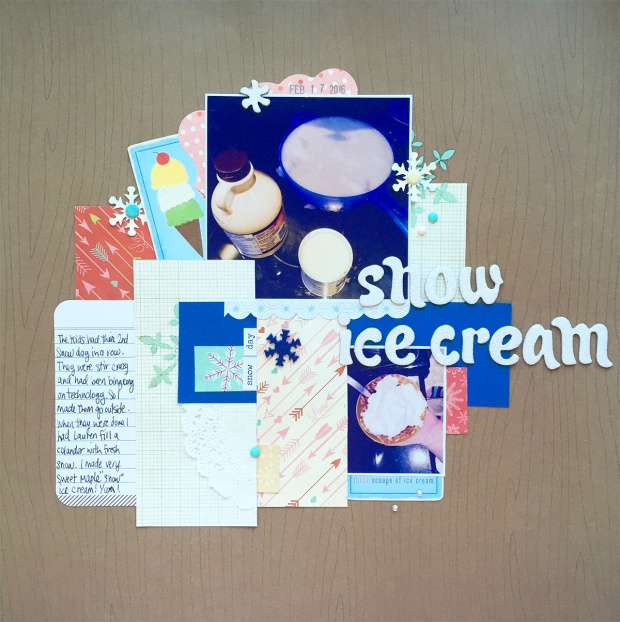
Today, I will show you my layout as a work in progress. So often I’ll look at Project Life spreads on the internet. I ooh and aah over them wondering how they achieved the look. I’m going to try to show how things look as I work on the spread. So when you see it completed in my next post, you’ll have an idea on how to use the same products.
1.

Technique #1: Using Digital Paper as a background.
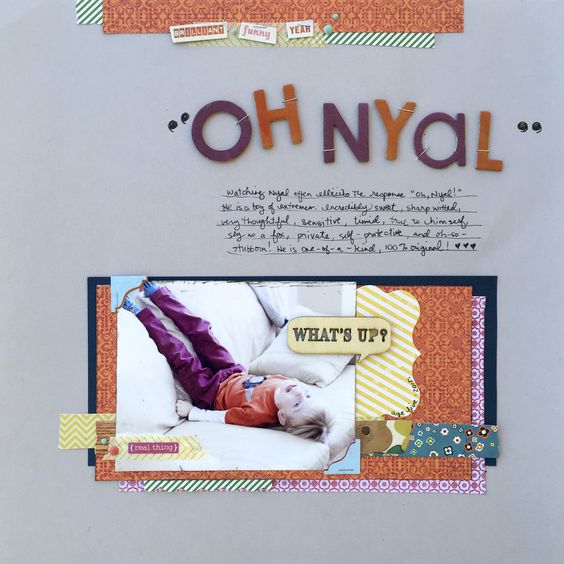
Ok, this card isn’t from the week I have been working on for this blog post. It is from Week Two (in case that wasn’t obvious). I printed out one of Nancie’s Painted Pages – Botanicals papers onto a 4×6 card. I painted part of the card with a shimmery white paint. Then I covered it with Thickers alphabet stickers. Done.
supplies used: Painted Pages – Botanicals, white shimmery ink, alphabet stickers
2.


Technique #2: Making Journal cards with brushes or papers
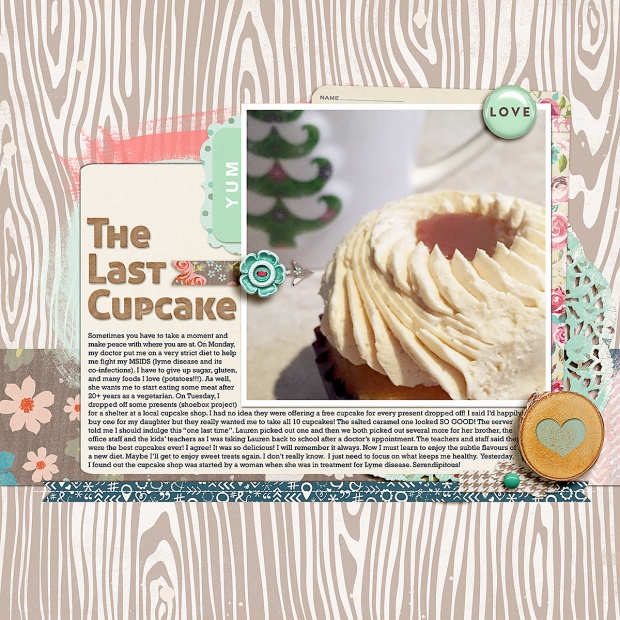
I love this technique the best. I usually have a lot to say so I like making journal cards. For the one above I used a “true story” stamp from Nancie’s StoryStarts Vol. 1:The Real Story . For the lines, I cut out a set of dots and cut/pasted them into a double lined row. Then I cut and pasted that row into a few more. Voila, journal lines! I printed out the card, rounded the corners, and now I just need to finish my journaling. Not sure what I’ll do with the photo that is currently covering the card.
You’ll notice all the sticky notes. I use them ALL the TIME! They are AWESOME! I use pencil so I can use the sticky notes again. I take them off as soon as I am done each pocket. I use them to remind myself of the topic I want to journal about or of the photo I want to place. If I don’t use them, I have chaos. Here, I’ll make this text yellow like a sticky note so you remember to try this in your own system.
In the card to the left of the “True Story” card, you’ll see it has a ledger paper from Nancie’s Old Ledgers Papers. I often use patterned papers that have a grid or ledger to make journal cards. I love this look. I tend to use a journal card with lines or a grid. Otherwise I write slanted.
My other tip? I always write with a pencil first. I use a Zig Millenium pen for my journaling. I also like Micron markers. Then I erase the lines after with a white eraser.
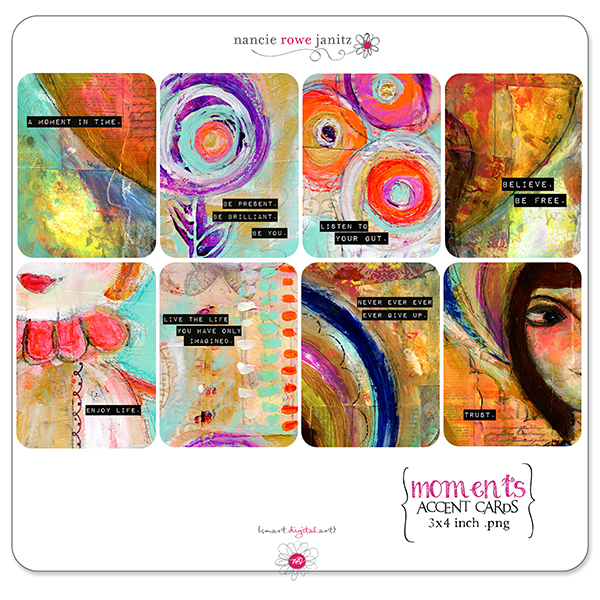
In the bottom left card I printed out one of Nancie’s Moments: 3×4 Accent Cards, and the card on the right I used StoryStarts Vol. 1:The Real Story, and added a brush stroke from one of Nancie’s products. (Forgive me, I have totally forgotten where I took it from… but I do know it is a Nancie product.).
supplies used: StoryStarts Vol. 1:The Real Story, Moments: 3×4 Accent Cards, Old Ledgers
3.

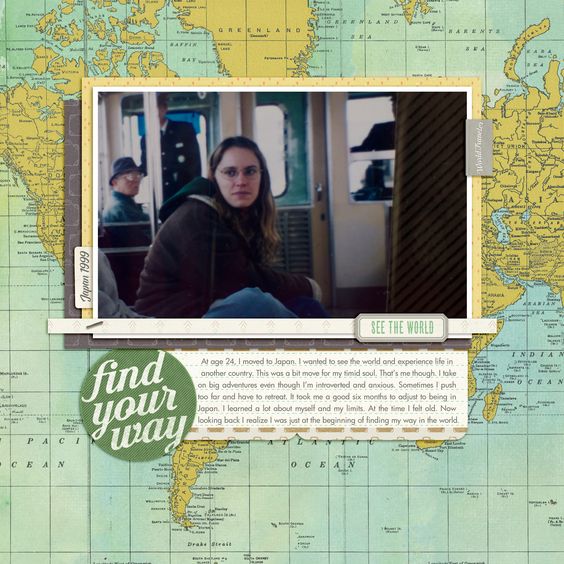
Technique #3: Make your own cutting file.
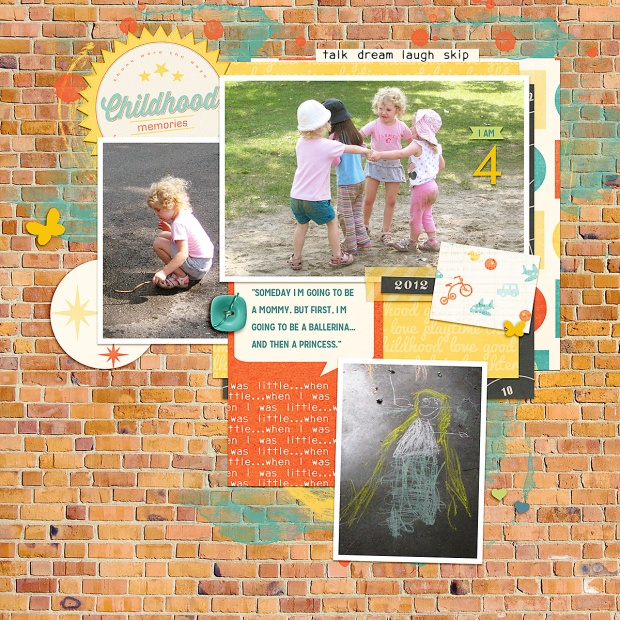
I took words from Nancie’s This Day Stamp Set and imported them into the Silhouette Studio software. I placed them in a way I found attractive. I made sure each element (here, &, now) were touching at some spot and welded the words into one piece. I traced it and cut it out onto a yellow paper. I added little mirrors to the card to remind myself that life is always changing and to be mindful of the moment I am in.
The blue card to the left is another of Nancie’s papers from her Sweet Stories 1. See how great her papers work as background filler cards?
supplies used: This Day Stamp Set, Sweet Stories 1
4.
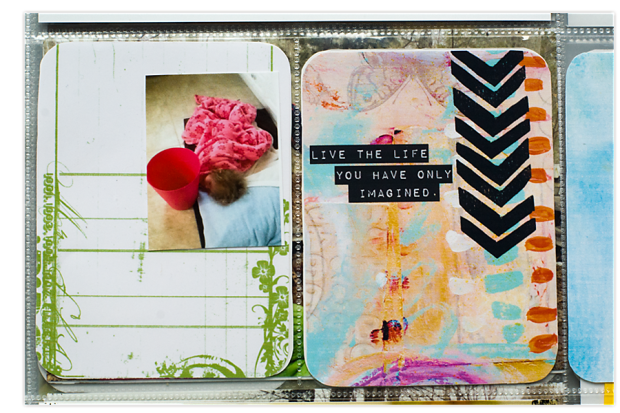
Technique #4: Adding focus to your cards
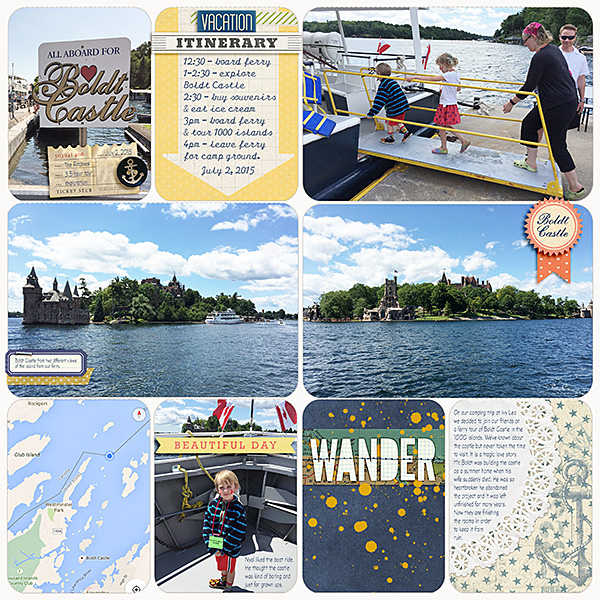
The card on the right was one of Nancie’s Moments: 3×4 Accent Cards. I took one of her Crazy for Chevron brushes and added it to the card and then printed it out. I am going to add something to the bottom portion of the card. The chevron will give focus to the part I need to add.
The card on the left uses one of Nancie’s Certified Organic 1 brushes. Again, I’ll use the lines as a guide for my journaling.
supplies used: Crazy for Chevron 1: Handcrafted , Moments: 3×4 Accent Cards , Certified Organic 1
5.

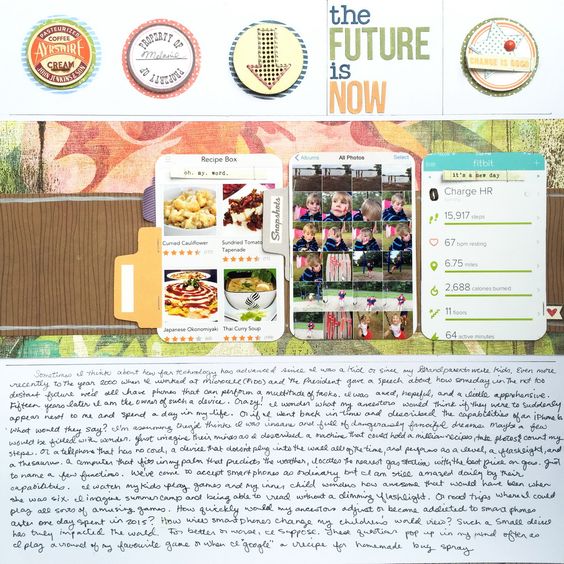
Technique #5: A mini digital layout works too
Sometimes it can all be done in Photoshop. I really do like my Project Life to be a blend of digital and traditional supplies. I like the depth and texture of using both. However, sometimes it is just easier to go all digital! For me, anyway. The card on the left is a good example of that. I used the Sweet Stories 1 paper as my background. The paper already had a pink square perfect as a frame for my photo. I used StoryStarts Vol. 1:The Real Story to add “the 411” brush and another chevron brush. I printed it out and added my own journaling. So I guess it wasn’t totally digital as I added the journaling afterwards. Oops.
The card on the right, I used another paper from the Sweet Stories 1. I added “Remember” from the This Day Stamp Set. I still need to add either journaling or a photo to the framed part.
supplies used: Sweet Stories 1, This Day Stamp Set , StoryStarts Vol. 1:The Real Story
In my next & final post of this series, I will finish off my cards with some embellishments using Nancie’s brushes. I’ll show you my completed cards and how they look all together on a finished Project Life spread.
If you have used Nancie Rowe Janitz product on your Project Life, share a link in the comments section. I’d love to see what you made.
Happy Crafting!


