

Alright, today is the day I show you what I’ve been doing with Nancie Rowe Janitz’s digital products. If you haven’t checked out her website, now would be a good time! She also sells at JessicaSprague.com and Society6. Her paper scrapbooking products are licensed through Fancy Pants Designs.
My goal is to show you how easy it is to use her products in your own Project Life album (whether it is 100% digital, or a hybrid mish mash of printed and digital). My Project Life is a mix of digital layouts, digital items printed out, and traditional paper supplies. My album is an excuse to get creative and experiment with new techniques. If you need a refresher on what Project Life is, please check out Becky Higgins’ site Project Life.
My original plan was to show you various techniques and then show you my finished layout at the end. Turns out my blog posts are like my mind… scattered. So, it will be more of a display of how I go about the process.
Today I want to show you various ways to incorporate Nancie’s “Only Words” handwritten words into your project life. She has several other products that can be used in this way. These are digital brushes but Nancie also includes the .png file. The brushes are in a file that ends with .abr. Usually all I have to do is double click on it and they will install in my Photoshop. Then I select the brush I want and stamp it on my layout. I recommend using brushes because you have control over the size and orientation. If you aren’t quite ready for all that, open up the .png file and place into your layout. That works too.
First, I’ll show you some of Nancie’s “Only Words” products:

Only Words: Heartfelt
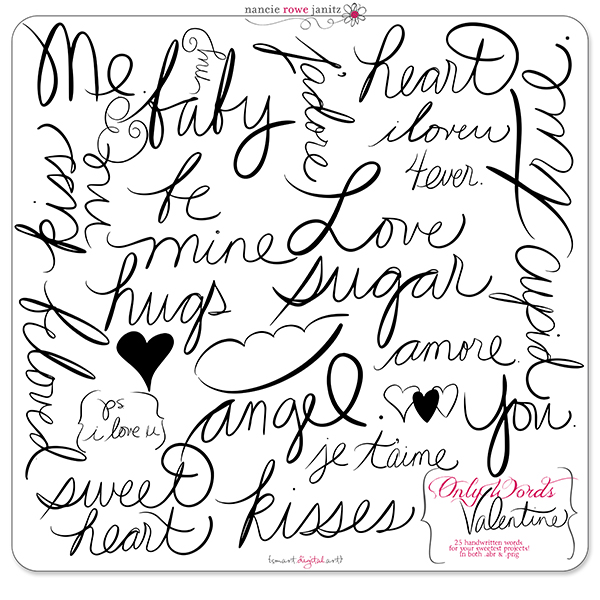
Only Words: Valentine

Only Words: Today
Oh and I also used this lovely product in one of my examples:
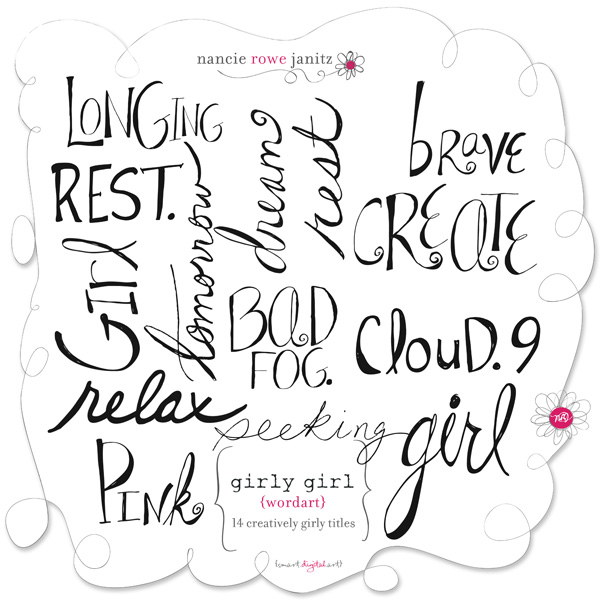
Girly Girl Word Art
Ok, so there are some of the word packs. Now I will show you three ways I used files.
Technique #1: Stamping on your photo
I used the brush called “seek” from Girly Girl Word Art and simply stamped the word onto a new layer. I moved it where I wanted it on the photo. I really like this effect. I’ve been writing on my photos a lot more recently. I also added the date stamp from Nancie’s This Day Stamp Set which I will mention further in an upcoming blog post.

Technique #2: Silhouette cutting machine
Ok, many of you have electronic cutting systems. For those of you who don’t, I’m sorry to leave you out on this one. I have a Silhouette machine (the old original) so I can’t speak for anyone using a Cricut. I’m not familiar enough with how they work.
Cutting files are great. Did you know that you don’t have to have special files to use them? I just imported a .png file “life” from Only Words: Today. After importing I had to 1) select the trace area 2) trace 3) size to fit a 4×6 card and 4) cut. So far I just placed the word in a page protector. You’ll have to stay tuned to see what I do with it.

Technique #3: Making a Digital Journal Card
I used the “week” brush (#7) from Only Words: Today. Again I stamped it on a new layer.
Let’s see, how did I do this? I made a layer and used a large soft brush and painted a diagonal red line in the corner. Then did an orange stripe next to the red. Then yellow, green, blue and so on. I clipped the rainbow coloured layer to the layer with the “week” brush on it. Then I added a drop shadow. I right clicked on the effects layer and chose “create layer”. This separates the drop shadow onto its own layer. I used the warp tool (edit/transform/warp) and pulled a bit at the shadow to make the text appear to lift off the page a bit. You could also use the smudge tool instead of the warp tool if you prefer. I wanted to make the word appear to look like a cutting file would. Do you think it worked?
For the background of my card I used one of Nancie’s PDQ Overlays Vol.13 and blended a layer of cream that had a “screen” effect on it.
Once I printed out the card, I rounded the corners and added a dymo label. Voila!

I’ll be back soon with the next installment of Nancie/Project Life synergy.

This is A-MAZING!!! Thank you so much Mel! I wish I could see more of your PL binder (hint hint!) :)) hugs!
LikeLike